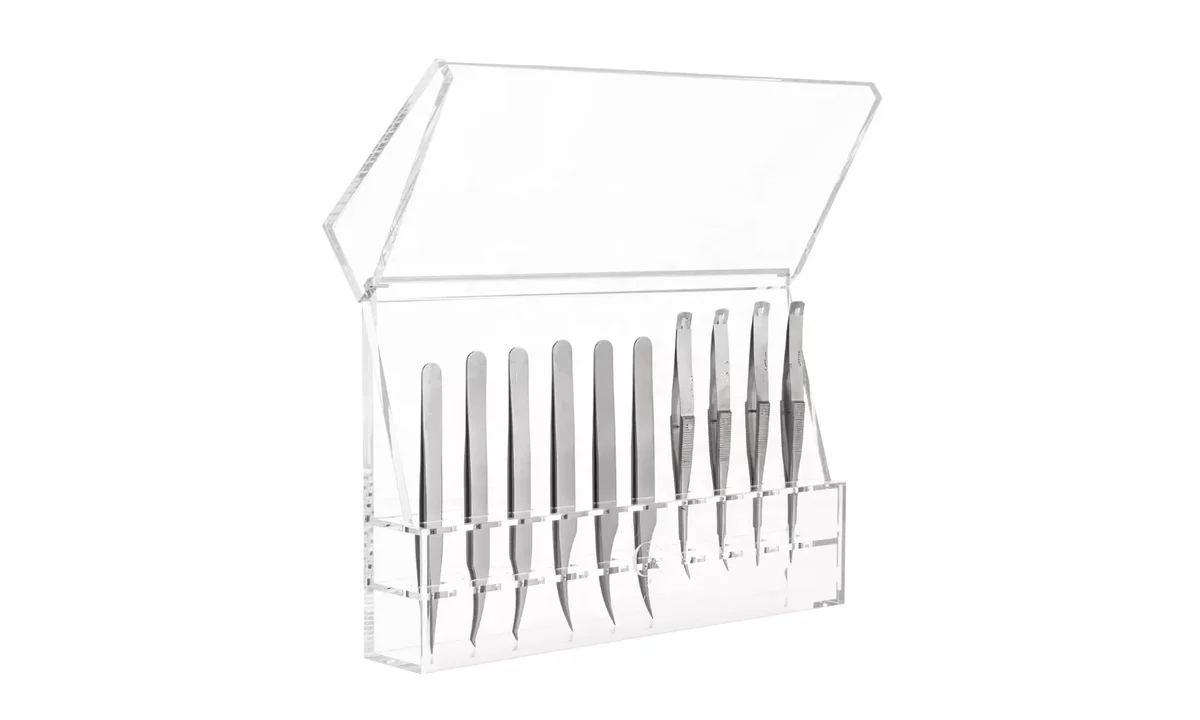
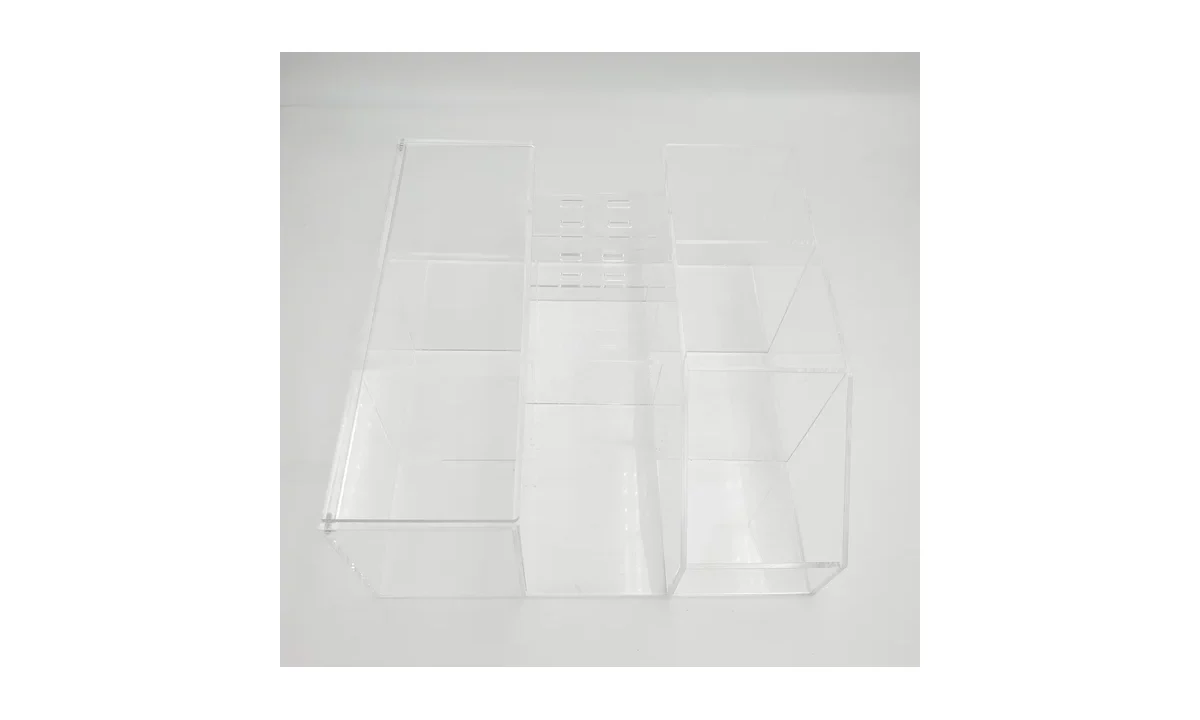
Review a magnetic tweezer stand with the actual tweezer models and the way they are removed. Tool appearance and a general stainless-steel description do not establish the magnetic response or retention of a particular tool-and-stand pair.
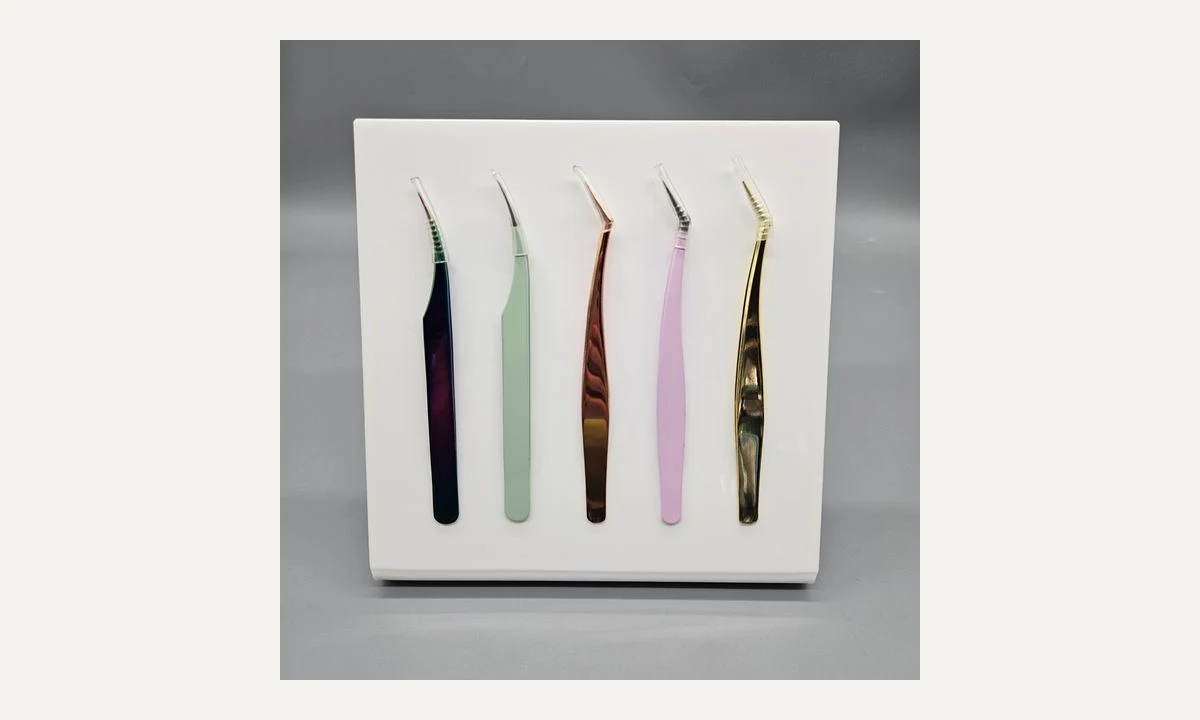
Start with the exact tweezer set
Give each intended tool an ID. Record its overall profile, contact area, tip projection, coating and intended resting orientation. Include curved and angled tips in the outline rather than measuring only the straight body.
If tools come from several sources, review each intended model. Do not transfer a result from one coloured tweezer to another because the finish looks similar. Ask the tool supplier for relevant material information where available.
Map the contact band and neighbouring tools
Mark the proposed magnetic contact zone on the stand and on the tool profile. Position the lowest tips relative to the base and counter. Confirm the actual retaining arrangement and its construction with the stand supplier.
Arrange the intended set on a full-size layout. Check finger access and whether lifting one tool touches a neighbouring tip or body. A nominal tool count is less useful than a recorded arrangement of the tools that will actually be used.
The reference shows an open upright stand. It contains no enclosure that protects the tips during carrying. For covered storage, use the separate covered-tweezer-case guide and review the lid and retention as a different assembly.
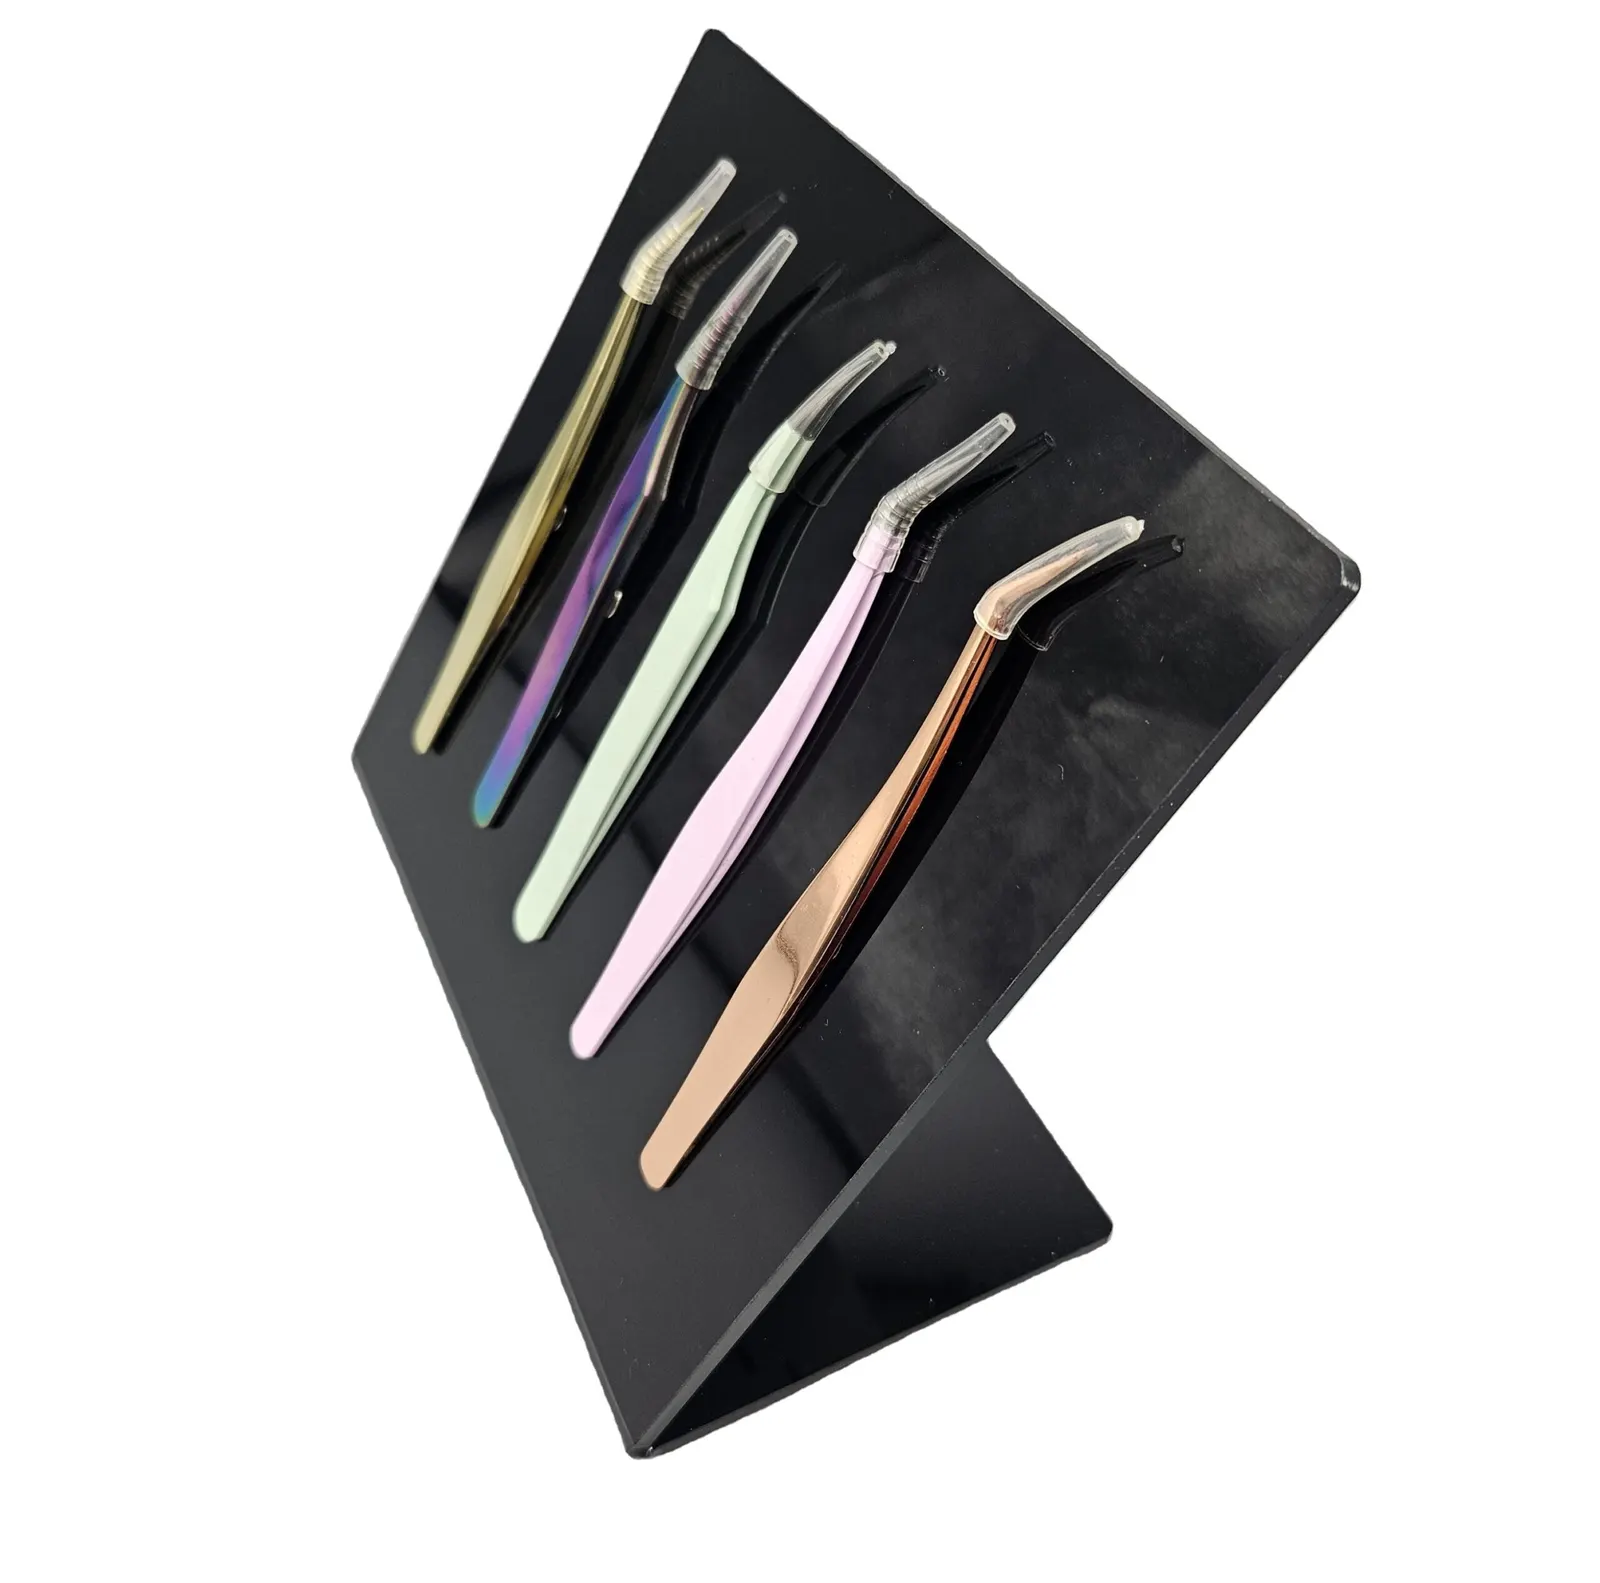
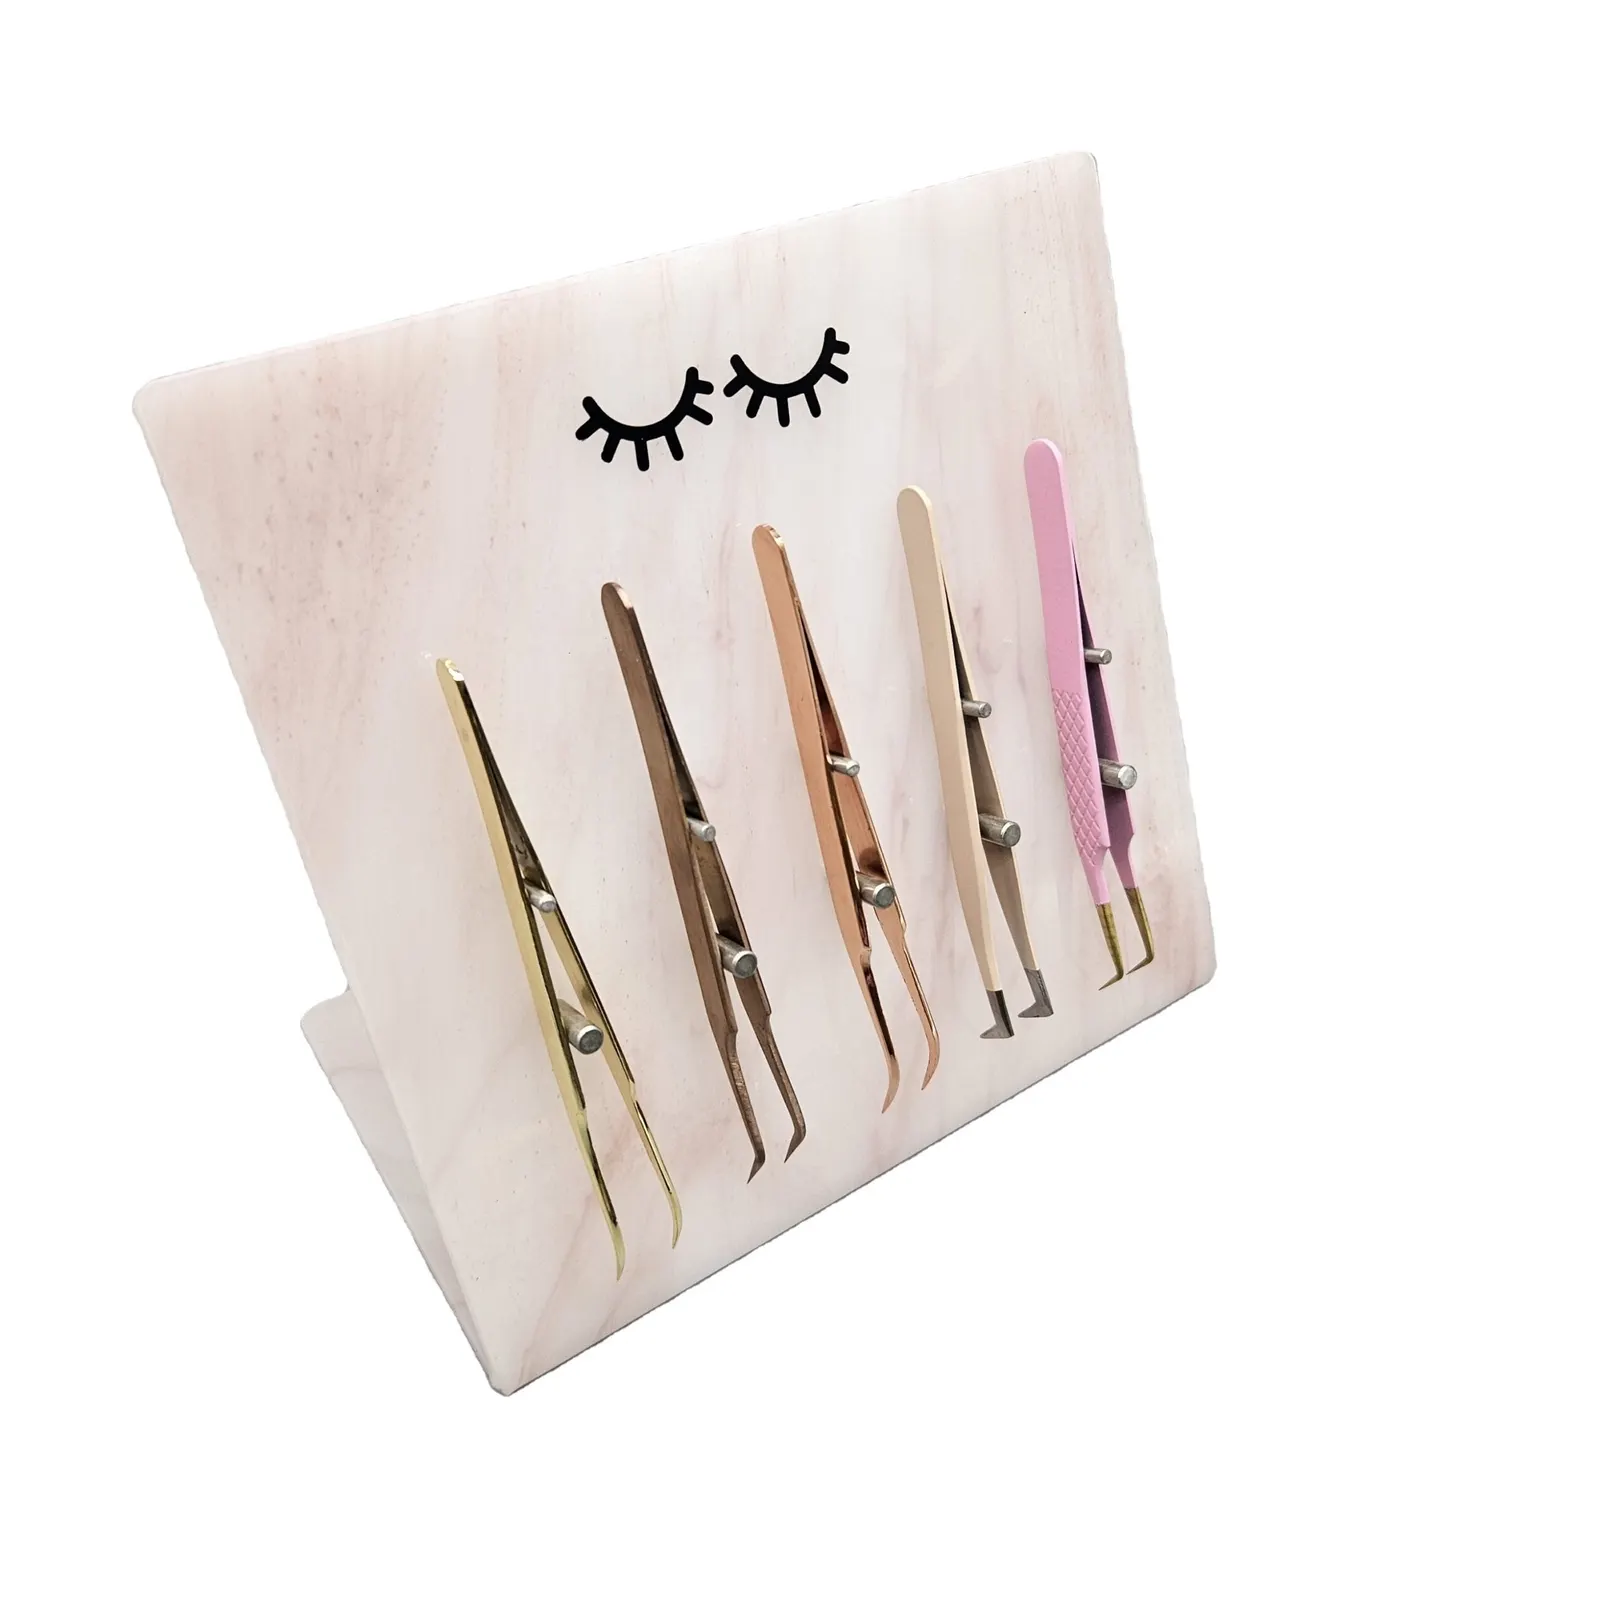
Observe retention and removal together
Set the sample on the intended work surface. Agree the review method with the supplier, including tool placement, resting orientation and removal movement. Observe any sliding, unexpected release, base movement or interference with adjacent tools.
Retention and convenient removal must be considered together. Do not publish a magnetic-force value or tool-weight limit without evidence for the actual construction and agreed test method. Record any revised contact zone or base before repeating the affected checks.
| Tool record | Placement check | Handling observation |
|---|---|---|
| Straight tweezer ID | Contact zone, lowest tip and neighbour spacing | Removal without touching adjacent tools |
| Angled tweezer ID | Full tip projection and resting orientation | Approach and withdrawal path |
| Complete tool set | Agreed arrangement on the actual stand | Stand movement and access to each tool |
| Changed tool model | Material information and new profile | Repeat affected contact and removal checks |
Keep care instructions tied to every component
Ask for care instructions covering the acrylic body, decoration, magnets and any exposed joint or fixing. Instructions supplied for bare metal tools or a separate stone cannot be applied automatically to the assembled stand.
An open organizer is not evidence of sterile storage or a disinfection process. Keep workstation organization separate from the professional hygiene procedure applicable to the tools. Retain the approved tool list and layout so a later tool change prompts a new fit review.
Download the project record
Use this blank record for the enquiry and agreed sample review. Mark unverified entries “To confirm” and retain the approved revision.
Magnetic Tweezer Stands: Tool Contact, Spacing and Removal Checks
Stand drawing, materials and retaining construction:
Tool IDs, profiles, coatings and material information:
Contact zones, tip clearance and full-size layout:
Intended work surface and removal technique:
Agreed retention and handling review method:
Observed movement, interference and open actions:
Component-specific care instructions:
Approved tool list, photos and review revision:
Download this blank project record (.txt). Mark unknown entries “To confirm” and retain the approved revision.
Specification questions
Will every stainless-steel tweezer attach in the same way?
Do not assume that. Review the magnetic response and retention of each actual tool with the proposed stand.
Can the open stand be used as a carrying case?
Carrying requires a separate retention and protection review. An open stand photo does not establish that function.
Send the reference and project record. TOYUDA is a trading and supply-chain coordination partner and can coordinate specification and sample reviews with suitable suppliers.
Apply this guide to your project brief
Use the recorded interface and review conditions when comparing the proposed reference.
- Magnetic tool interfaces references
Confirm the actual construction, dimensions and approval scope for the project.
Prepare your quantity, artwork and delivery details before requesting a quotation.