A finished display begins with relationships
A drawing tells a fabricator more than the outer dimensions. It shows which face meets the customer, where a product rests, which edges stay visible and how the assembled object will stand. Those relationships help determine the production route.
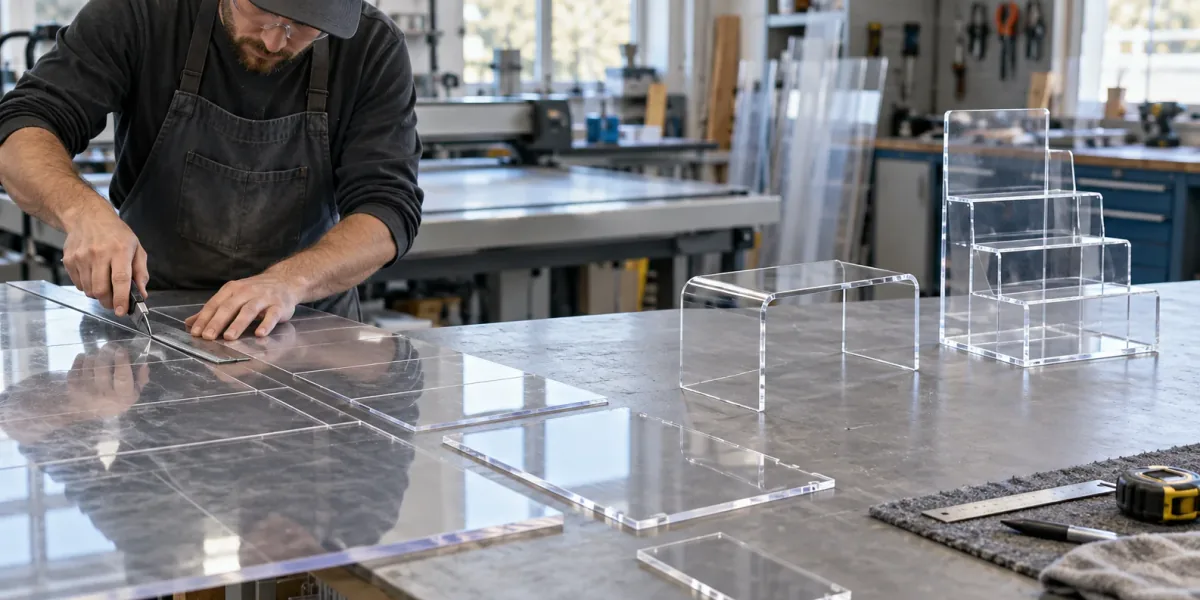
For example, a simple brochure holder may be formed from one sheet. A compartmented organizer may need several cut panels joined together. Neither route is automatically better: access, appearance, geometry and the intended use determine which is practical.
Four production decisions, in sequence
- 01
Cut the parts
The flat shapes must account for holes, slots and the surfaces that will later meet. Ask which dimensions will be checked after all processing is complete. A drawing of a flat blank is not always the same as a specification for a finished assembly.
- 02
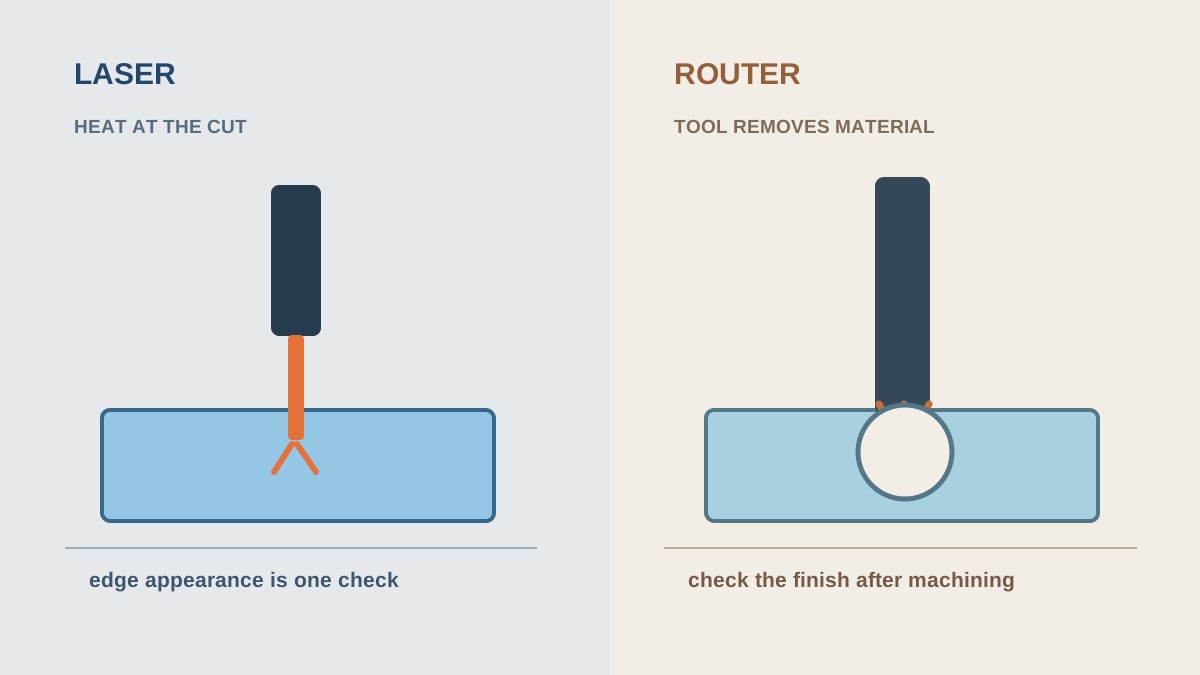
Define the edge finish
An edge can be part of the product’s appearance or a surface prepared for another operation. Ask the fabricator to show the proposed finish on the sample. Avoid requesting “all edges polished” without first distinguishing visible edges from joining surfaces.
- 03
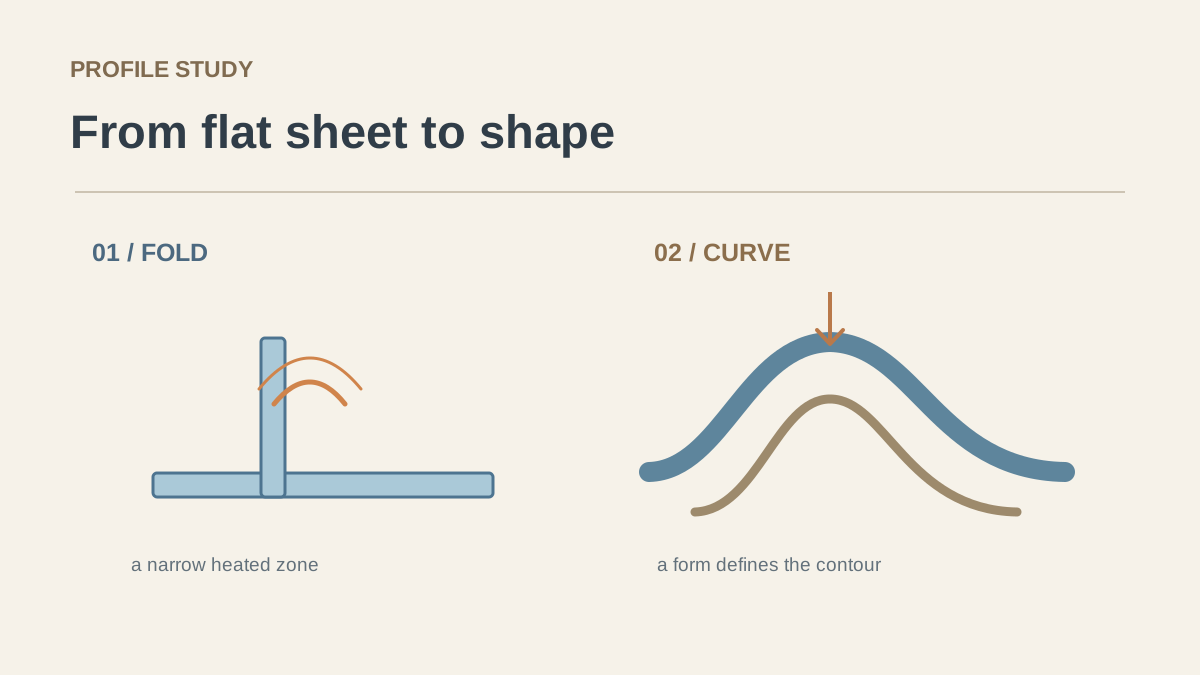
Create the shape
Line bending heats a narrow region before the sheet is formed and held while cooling. ACRYLITE’s fabrication guide explains the role of a cooling jig and the possibility of bowing on long bends. Buyers should review the resulting angle, flatness and appearance; equipment settings belong to the fabricator. Manufacturer’s line-bending guide.
- 04
Assemble and check
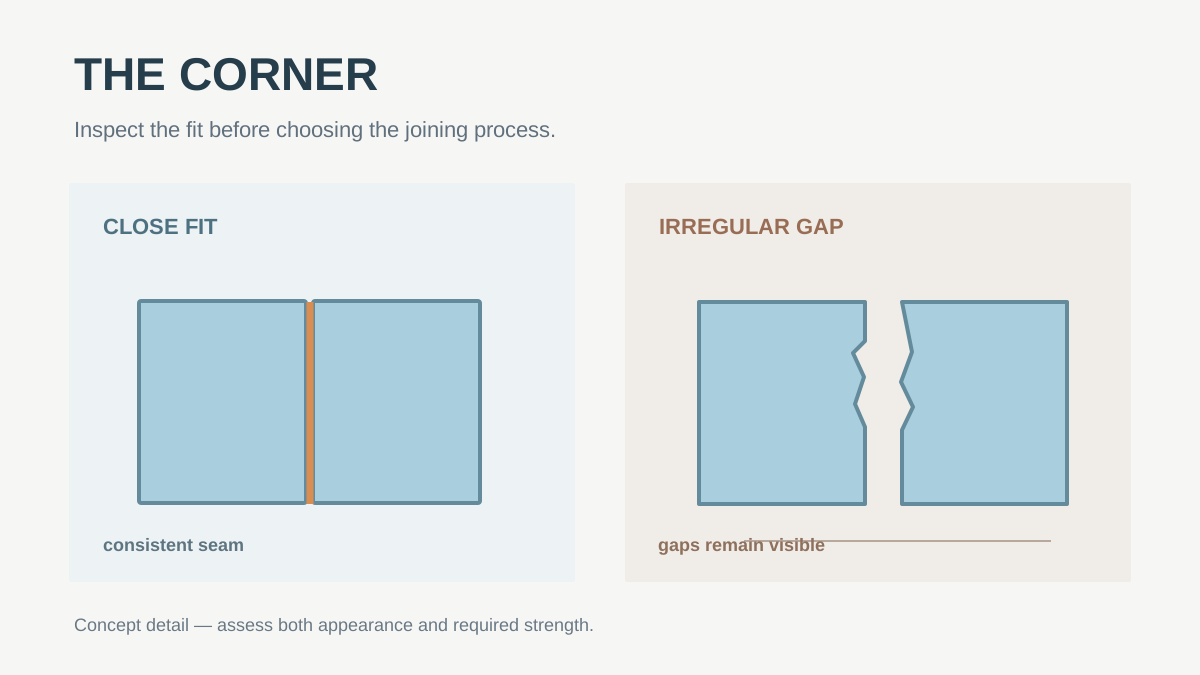
Where separate panels are joined, agree on the visible seam location and the appearance you can accept. Check the completed object with the actual products it will hold. Assembly can reveal problems that are invisible when parts are inspected one at a time.
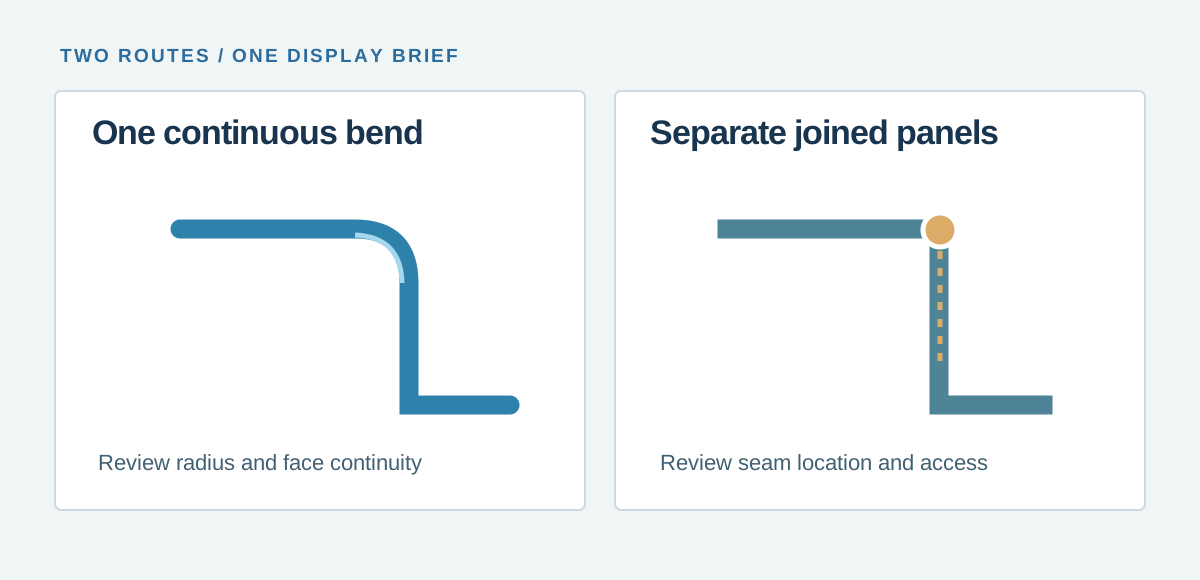
Bend or bond?
Start with bending when…
You want to explore a continuous face and a relatively simple folded shape. Review the bend radius, space occupied by the curve and any change in how the surface catches light.
Explore joined panels when…
The design contains compartments, intersections or geometry that does not suit a simple fold. Review access for assembly, seam appearance and the packing needs of the completed shape.
More extensive thermoforming introduces another set of considerations. Heating uniformity and the material’s response influence the result, and the formed part may need trimming. ACRYLITE discusses those dependencies in its thermoforming manual. A buyer does not need to specify a heater temperature to ask for a representative formed sample.
Read the finished sample as a whole
Place the display on the intended type of surface. Check for rocking, inspect exposed edges, confirm that the products fit and view the seams from the customer’s likely position. Photograph any accepted detail that would be hard to describe later.
Write the result back into the drawing and sample record. “Use this construction, with this edge finish and these visible seams” is a repeatable instruction. A single attractive photograph rarely records all three.