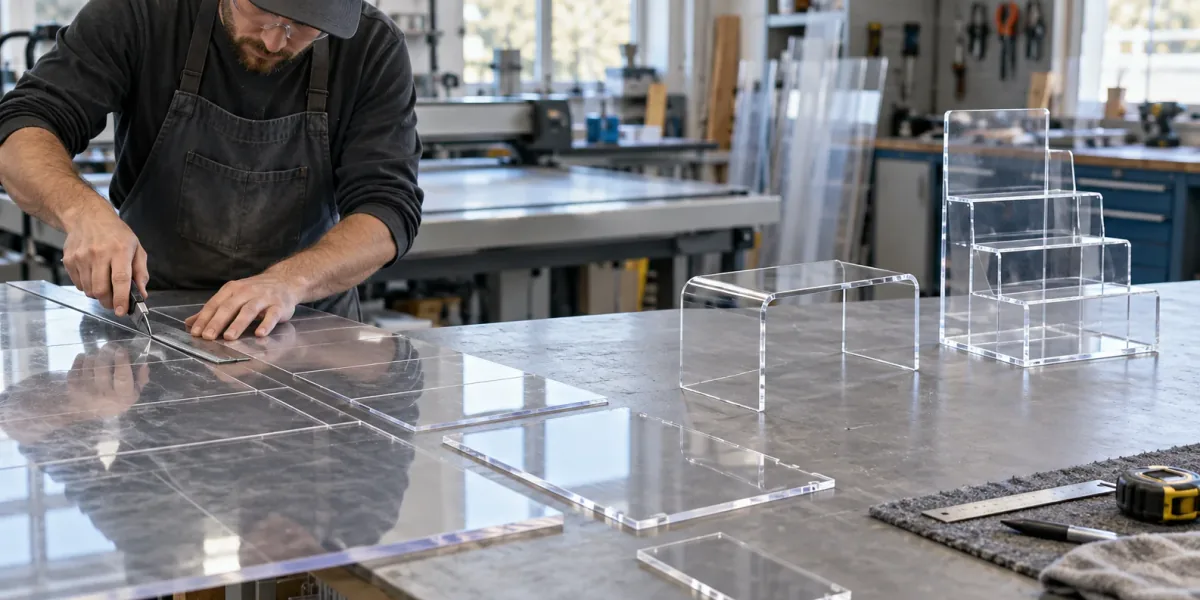
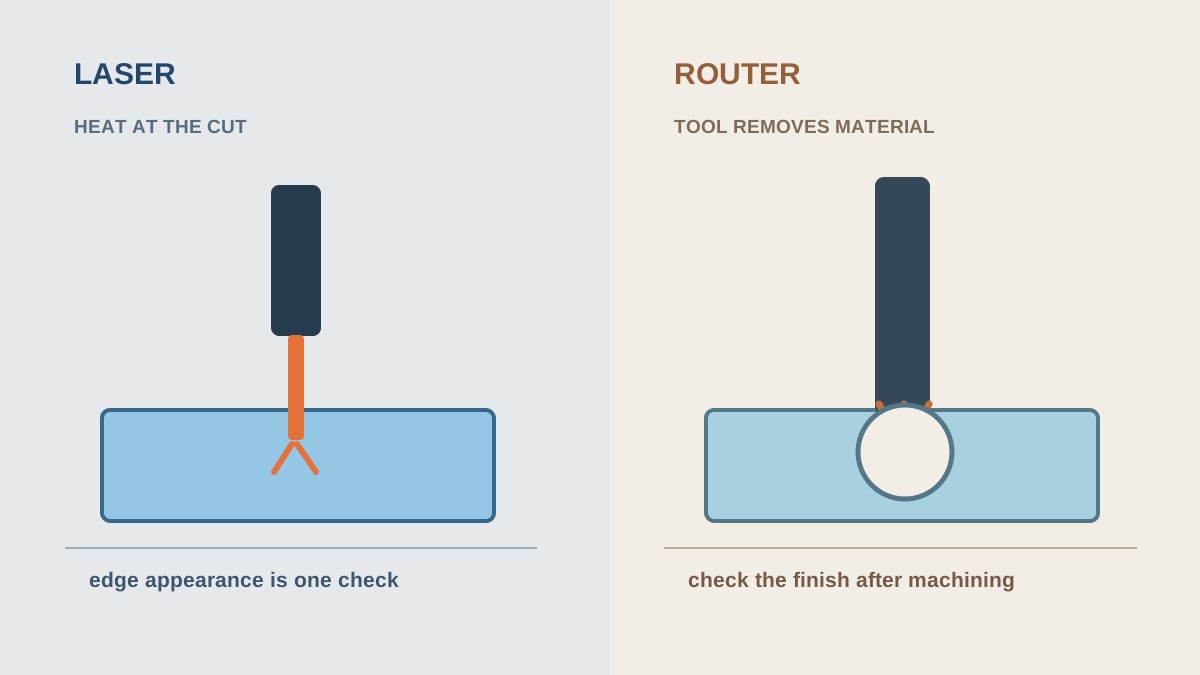
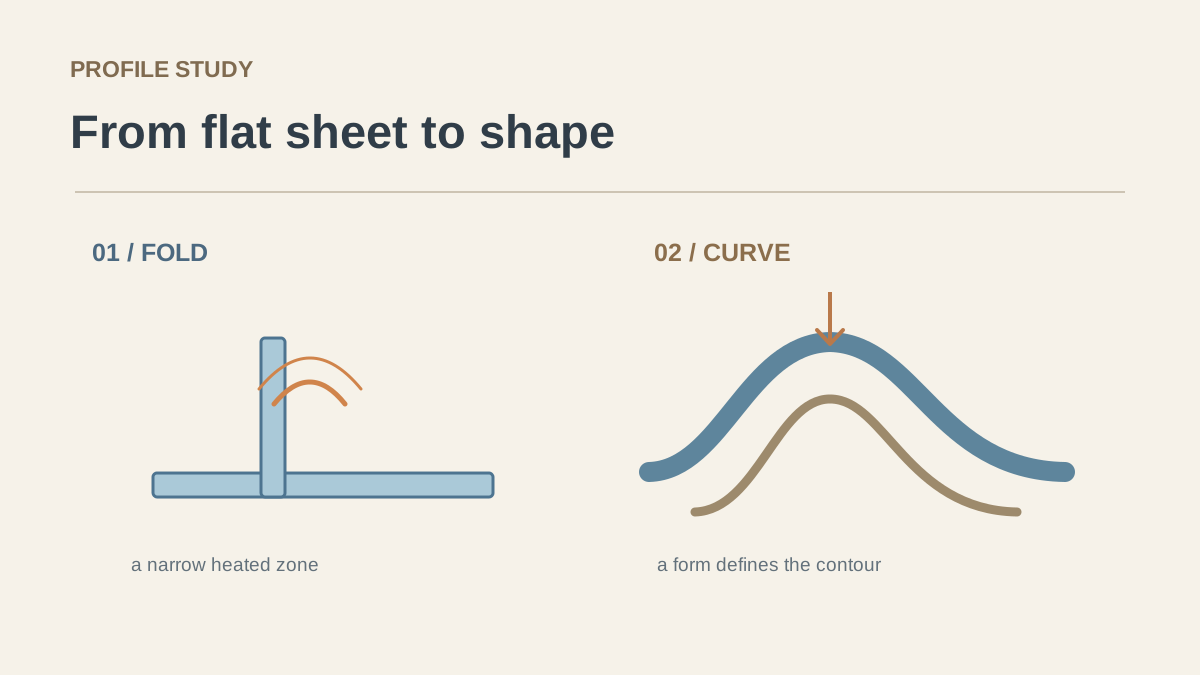
In a clear display box, the corner is rarely invisible. Put it under a shop light and the fit, seam and edge preparation become easy to read.
JOINT REVIEW / CLOSE UP
Look at the two pieces before the cement
Two square, clean edges can meet evenly. A rough or out-of-square edge leaves a gap that a transparent joint cannot hide. Polishing the mating face is not a universal fix; manufacturer guidance warns against it for some cementing methods.
Sheet grade, joint design and required strength all influence the joining process. Residual stress or contamination can also affect appearance when solvents are introduced.
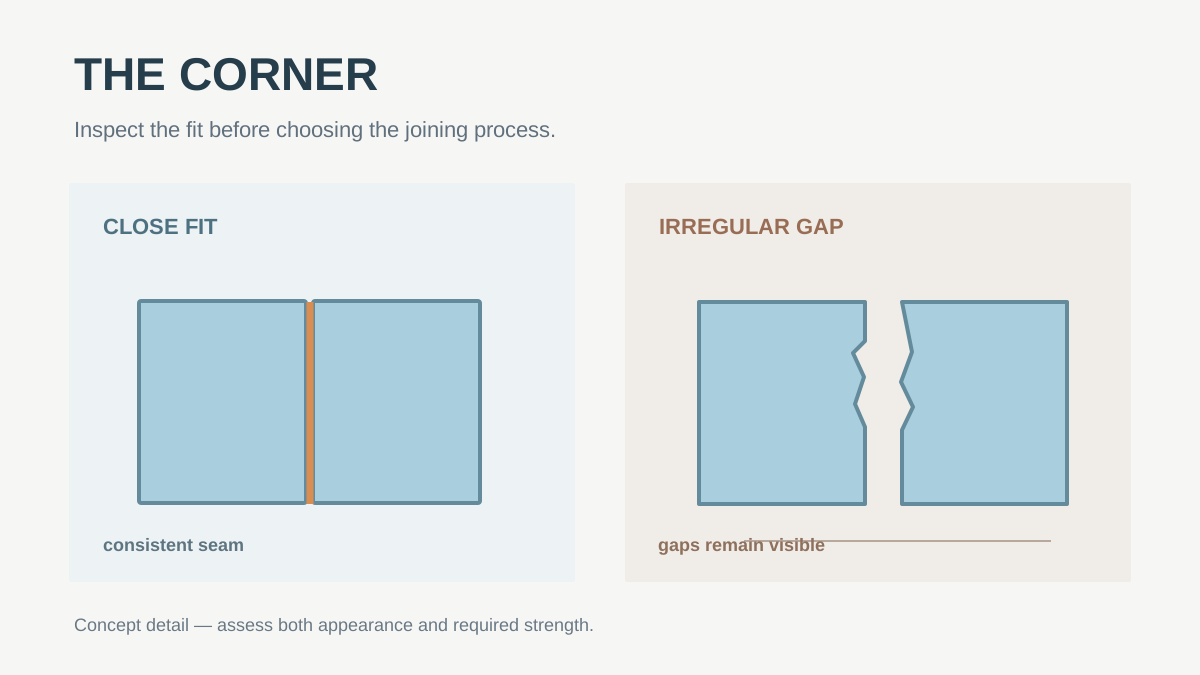
SAMPLE CORNER
Approve the joint you will actually see
On the drawing, mark exposed seams and any load-bearing joints separately. Ask for a sample corner made from the intended grade, cut and joining method. Set it under the lighting planned for the display, then inspect from the angle at which the finished product will be viewed.
“Clear” is an appearance requirement. A joint carrying weight also needs a strength requirement.
Record the accepted seam in a photograph with the drawing revision. It gives the production team a reference more useful than “make the glue line neat.”