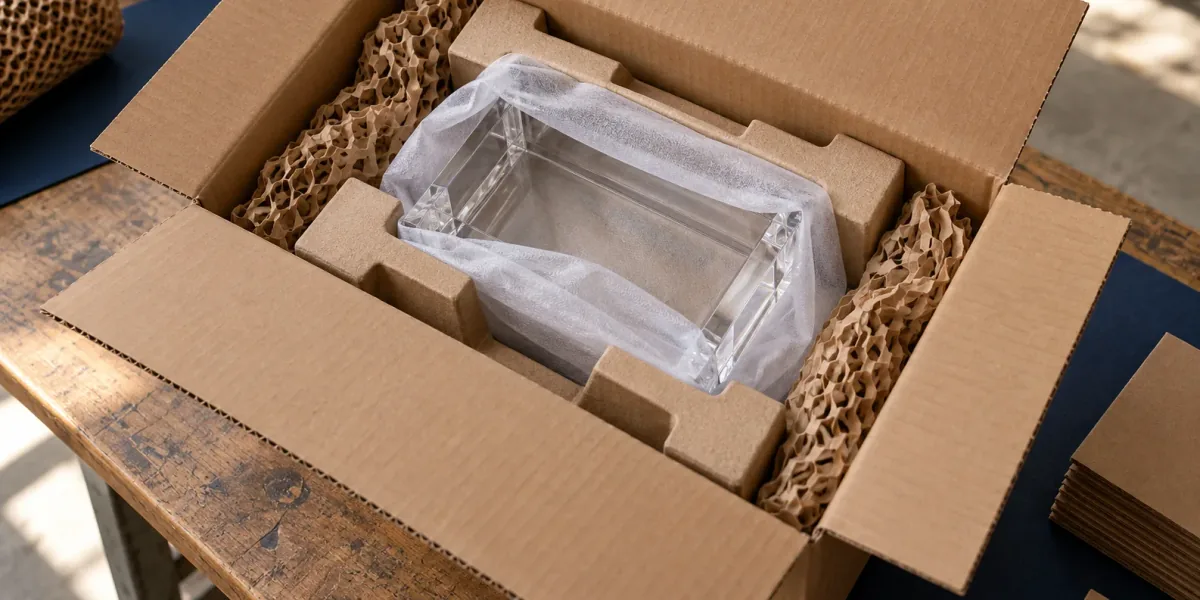
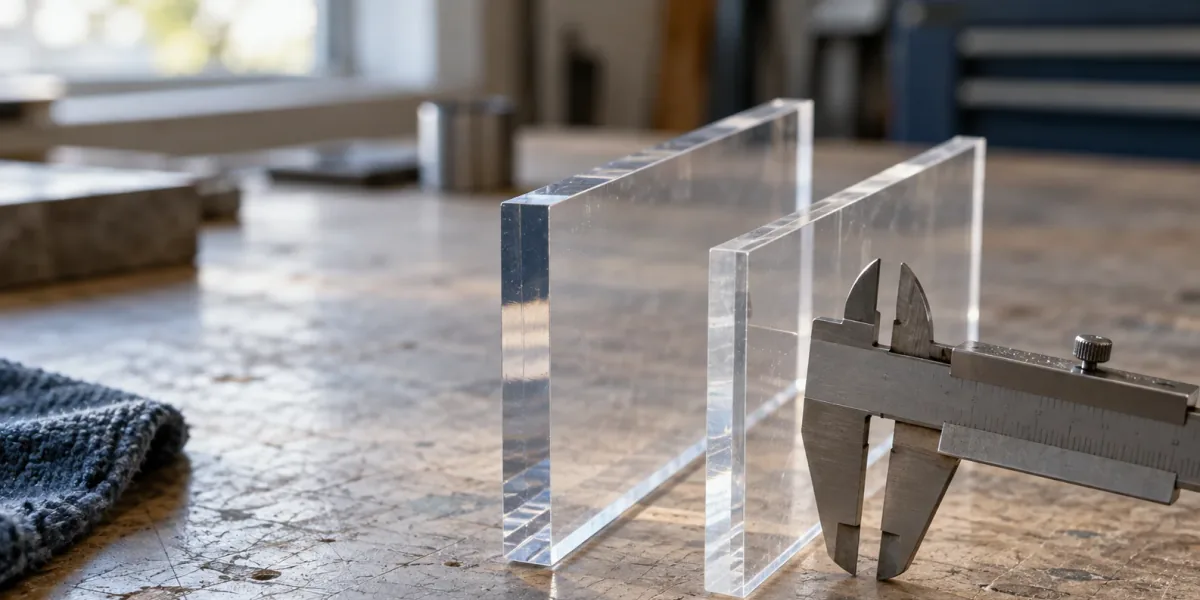
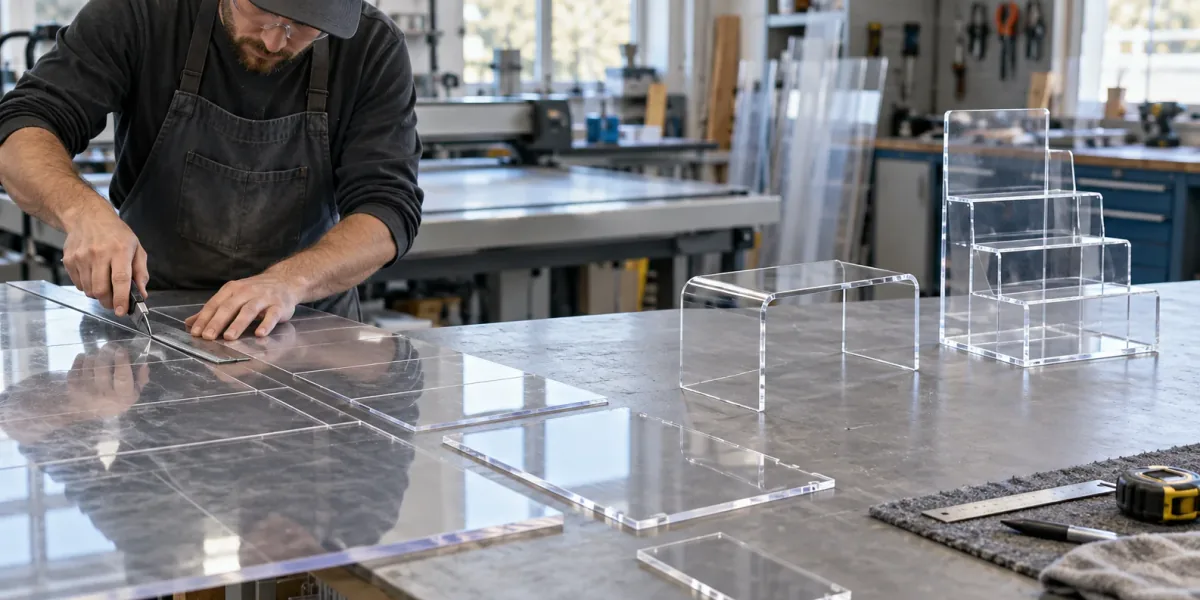
The return journey starts when a display comes off the counter. Keep its parts, protection and packing instructions together so the next team can set it up again.
ACRYLIC / STORAGE AND REUSE
Inspect an acrylic display before it goes into storage
Acrylic, PMMA and the common search term plexiglass appear on many display briefs. Record the actual material and finish on your storage label. A plain panel, a printed sign and a bonded box need different handling details, even when they share a similar clear appearance.
Start with a photograph of the complete display and a count of its removable components. Compare the item with its previous condition record. Set aside a cracked part or a loose joint for assessment, and label it so the next team knows it needs attention.
Clean according to the finished product's care note, then allow washed parts to dry before enclosing them. PLEXIGLAS describes water, a soft damp cloth and a little dishwashing detergent for ordinary cleaning. Confirm the routine for printing, mirror backing and other finishes separately. Our acrylic care-card guide covers that handover.
Give stored PMMA parts a stable support
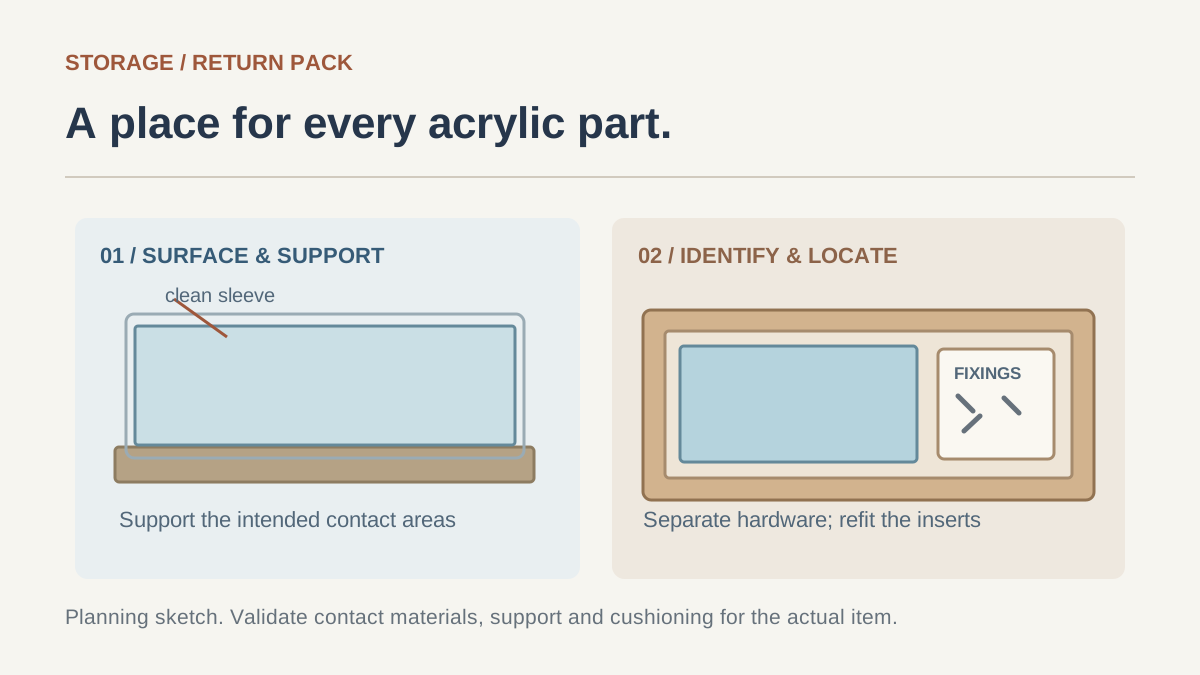
For flat acrylic sheet, ACRYLITE advises support that prevents sagging and keeps dirt or chips from being trapped between stacked sheets. Apply those principles to removable panels with a storage arrangement agreed for their dimensions. A stand, a tray or a bonded cover also needs support suited to its assembled shape.
Put the storage orientation on the label and photograph it. Show where the item rests and which areas must remain free of pressure. Keep access clear so a colleague can lift the part by the intended base or frame instead of pulling on a thin upright.
ACRYLITE also advises keeping stored sheet away from heaters and solvent vapours. Choose a location that follows the actual product and packing specifications. Record any temperature or humidity limits supplied for the complete display, including its adhesive, print and accessories.
Rebuild the acrylic pack for the next journey
A shelf storage arrangement needs a separate review before courier shipping or pallet transport. FedEx's breakables guidance calls for a box suited to the item's weight, individual protection, cushioning and restricted movement. It also describes double-boxing fragile items. Develop the return pack for the selected service and the actual product.
- 01
Check reusable packing components
Inspect the original carton and inserts against the packing record. Replace wet, crushed or damaged components. Confirm that the product revision still fits the retained insert.
- 02
Separate removable accessories
Remove only parts designed for disassembly. Put screws and fittings into a labelled pouch in their own compartment. Keep the assembly instruction with the kit.
- 03
Protect the finished faces
Use the agreed clean sleeves or separators. Check their contact with artwork, edges and coatings. Position the parts as shown in the packing record so they cannot rub against each other.
- 04
Locate and cushion the parts
Refit the approved inserts and cushioning in the recorded order. Check that the lid closes without pressing on an upright, handle or thin edge. Investigate a changed fit before sealing.
- 05
Confirm the shipping configuration
Record the packed dimensions, weight and item count. Check the carrier's current requirements, then seal and label the carton. A change in product weight, quantity or packing material may require another transit trial.
A “fragile” label provides handling information; it does not establish that the packing is adequate. Our guide to acrylic packaging layers explains how surface protection, restraint, cushioning and the outer carton work together.
Keep a packing record the next team can follow
Take a photograph at each packing stage while the arrangement is visible. Include the part reference, display revision and storage location. A person who did not pack the first shipment should be able to match the components to the pictures.
- List the display, removable panels, accessories and quantities.
- Name each sleeve, separator, insert and carton used in the approved arrangement.
- Show the orientation, support points and order for unpacking.
- Attach the care note and identify any condition issue that needs assessment.
- Record the packing revision and the transport trial it relates to.
For recurring retail campaigns, discuss a return pack during custom acrylic project planning. TOYUDA can coordinate the packing brief with suppliers; the agreed materials, testing and commercial scope remain specific to the project.
Common questions about storing acrylic displays
Can acrylic panels be stored flat?
A suitable flat arrangement must support the panel without sagging or unsupported overhang. Confirm the arrangement for the panel's size and finish, and keep the separators free of grit.
Can I nest acrylic risers or boxes inside each other?
Use nesting only when it is part of the approved packing design. Confirm the contact points and separators, particularly around prints, polished faces and bonded corners.
Is the original delivery carton suitable for a return shipment?
Check its condition and confirm that the contents and transport route match the approved arrangement. Retained packaging still needs inspection before reuse. Replace damaged components and review meaningful changes with the supplier.