The outer carton is the part you see first. The most important work may be happening several layers inside it.
Read a protective pack from the product outward
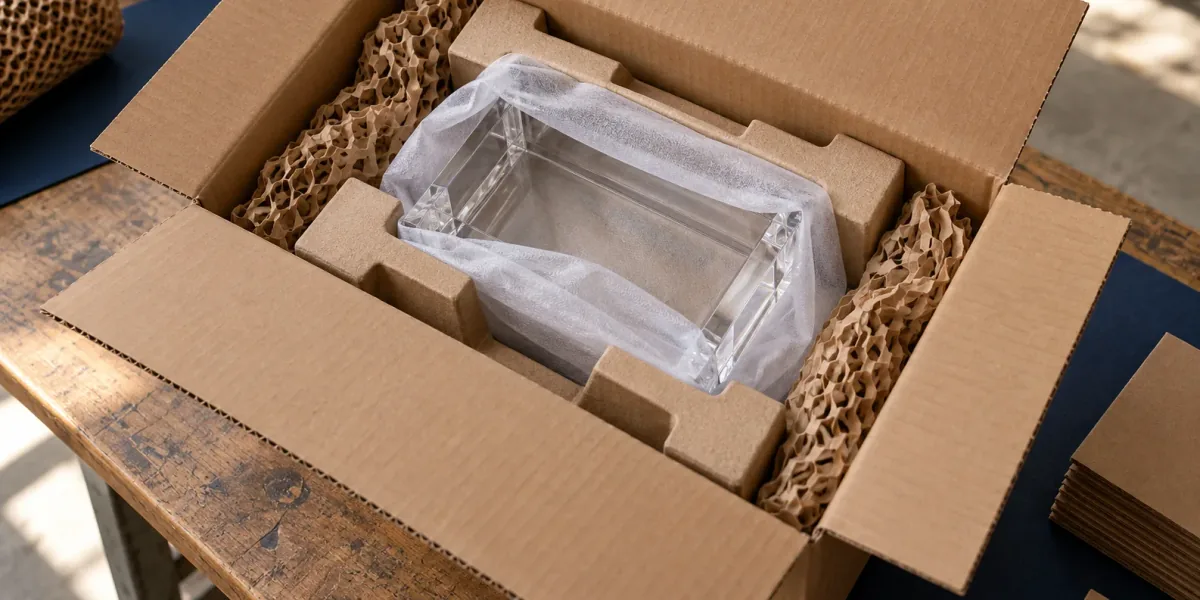
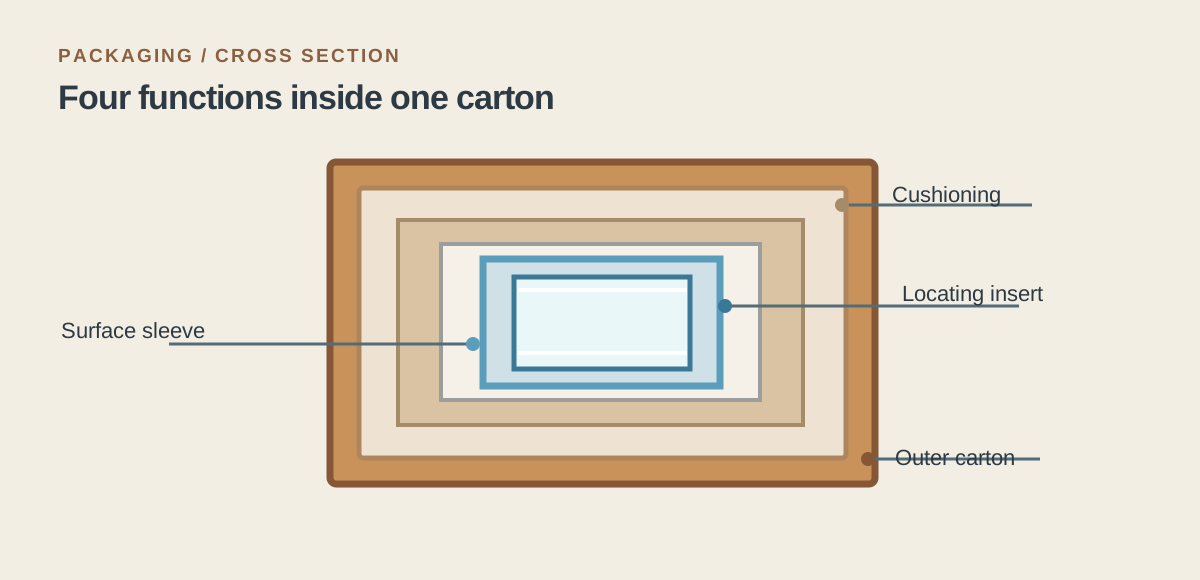
For a custom acrylic item, the pack needs to address several different problems: contact with the surface, movement inside the box, impact during handling and pressure from surrounding packages. Adding more material without identifying the problem can make a pack larger without making it more effective.
- 01Surface protection
- A suitable film, sleeve or wrap separates the finished surface from materials that might rub against it. Compatibility and clean application matter. The layer should also be removable without creating a new problem for the recipient.
- 02Location and restraint
- An insert or divider keeps components in their intended positions. It should account for handles, corners, protrusions and removable parts rather than treating the whole product as a simple rectangle.
- 03Cushioning
- The cushioning arrangement helps manage handling impacts. Its performance depends on the complete system: material, thickness, product mass and the space available for it to work.
- 04Outer enclosure
- The shipping carton brings the pack together and provides a surface for handling and identification. Its dimensions and construction need to suit the packed contents, not only the presentation box inside.
FedEx’s guidance for breakables highlights individual protection, controlling movement and double-boxing for fragile items. Use the requirements of the selected service when developing the actual pack. FedEx: packing breakables.
Fit is more than a tight hole
A cavity that holds the base firmly may still leave a tall edge unsupported. A lid may close neatly while pressing on a delicate fitting. A soft layer may protect the surface yet allow two pieces to collide. Review the contact points, not just whether the product fits inside the box.
Think about unpacking too. A finger recess or a clear removal sequence can prevent someone from pulling on the weakest part. For a presentation set, ask a colleague who has not seen the pack before to open it. Their first instinct is useful design feedback.
Test the complete system
Agree on a transit-test plan suited to the product and distribution route. Record the carton, inserts, item count and packing sequence used in the trial. The result belongs to that configuration; it should not become a blanket claim that every future shipment is protected.
Make the pack repeatable
A useful packing instruction includes photographs of each stage, component names, the orientation of the product, the quantity per carton and the finished carton dimensions. Show where labels belong and what must remain visible.
Keep the approved packing sample with the production records. If the packing team can reproduce it without guessing, the design has a much better chance of surviving the handover from development to shipment.