A museum shop or visitor centre can build several souvenir designs around one clear keychain body if the inserts share the same cut and fit. Before ordering, decide who will load or replace the photo, then approve the visible artwork, the actual insert and the packed retail unit together.
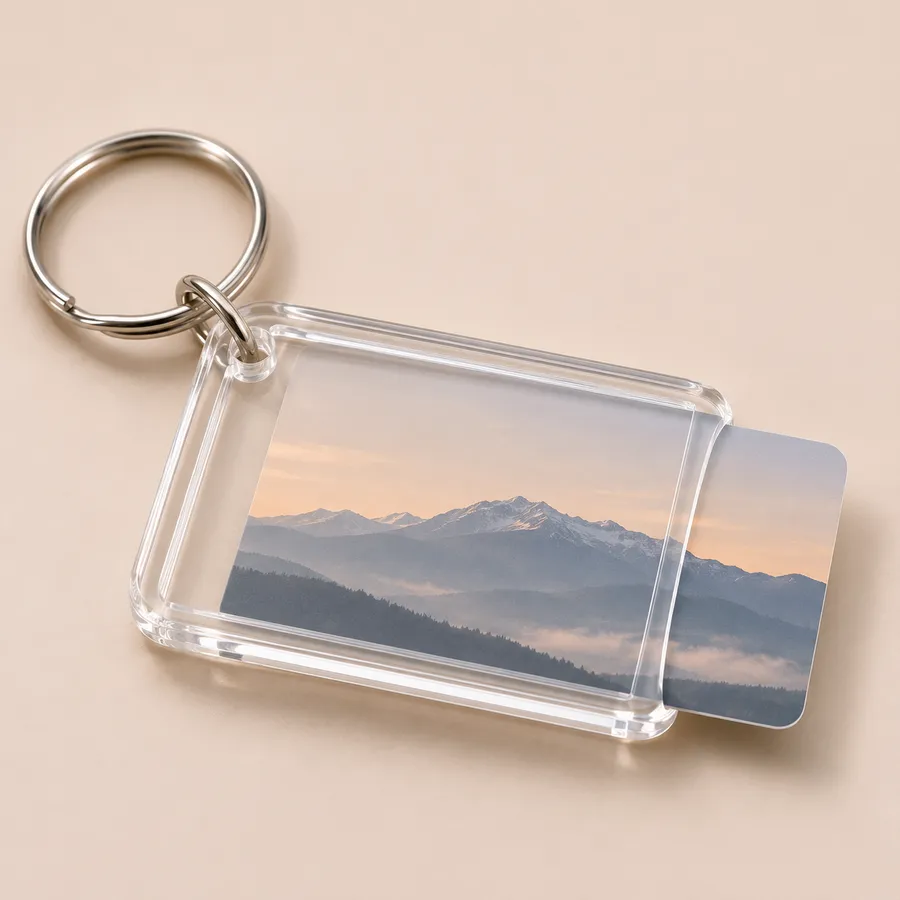
Choose a replaceable photo or a fixed print
| Format | When to consider it | Decide before quoting |
|---|---|---|
| Blank photo insert keychain | A photo counter or gift shop loads its own prints. | Who cuts and loads the cards, and what instructions the operator needs. |
| Keychain with preloaded insert | Several destination or event designs share one confirmed body. | Who prints and loads each design, and whether the buyer needs to replace it after purchase. |
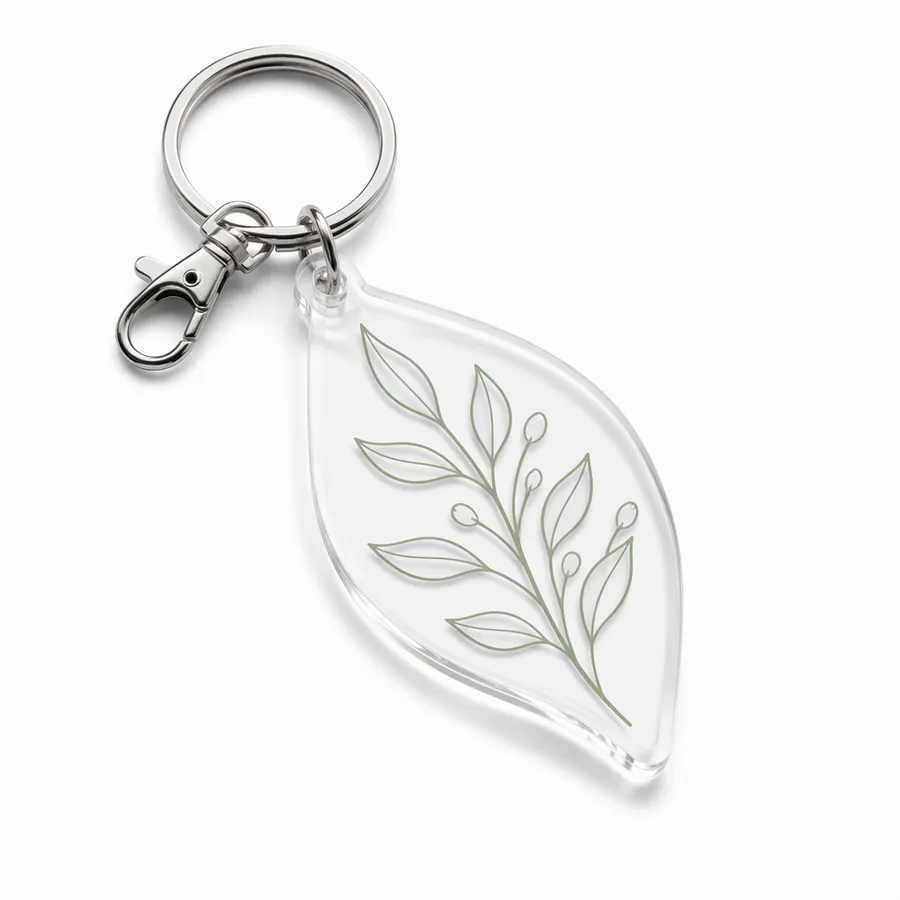
| Directly printed acrylic keychain | Permanent artwork or a shape cut to follow the design matters more than changing the image. | The cutline, print faces and the proof to approve. |
Compare the photo insert keychain gallery and the printed keychain reference. The format guide for ordering custom acrylic keychains in bulk covers broader print and hardware choices.
Measure the window, the visible image and the card cut separately
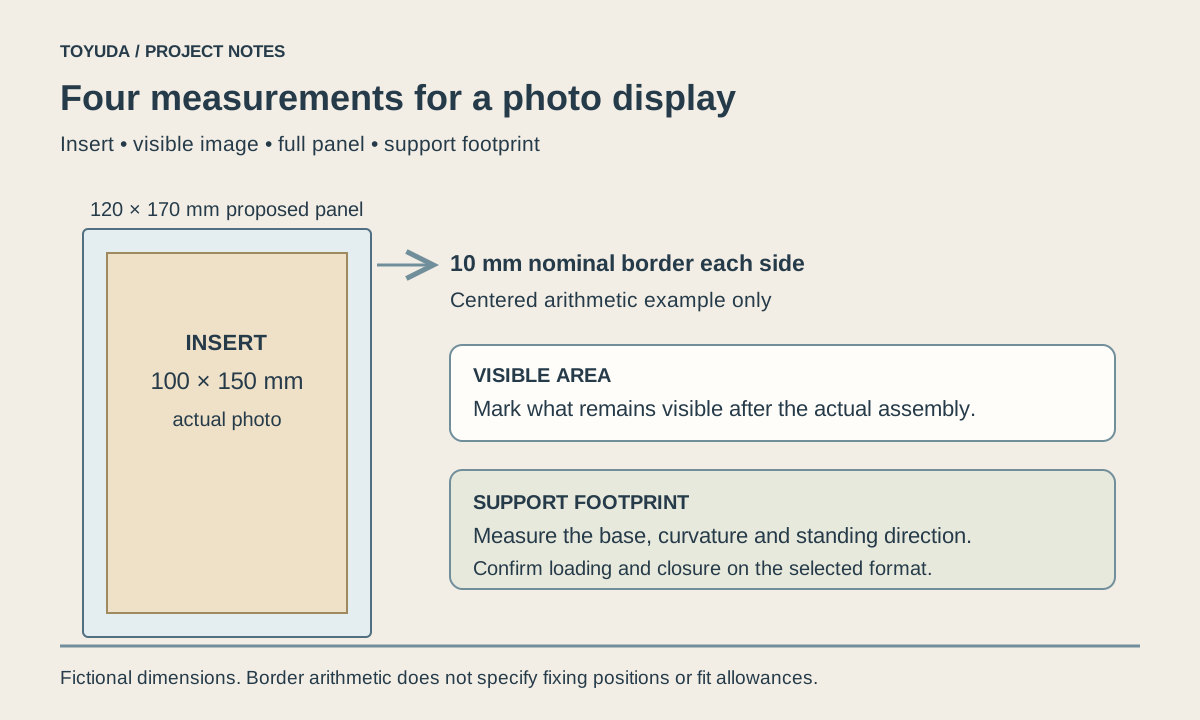
- Clear window: measure the opening across the assembled front and mark any rounded corners, rim or feature that crosses the view.
- Visible artwork: mark the area that stays readable under the assembled window. Keep a landmark name, face or date clear of the rim. If both sides are printed, view both sides while the keychain hangs from its ring.
- Finished insert: agree the card width, height, corner shape and total thickness, including coating or backing. The body outline belongs on the product drawing as a separate dimension.
For example, if an approved proof uses a 32 × 48 mm card and leaves a centred 28 × 44 mm image area, the nominal hidden margin is 2 mm per edge. Those numbers are illustrative. Use the actual window and corner shape to place text and check the printed fit. The frame fit guide shows the same distinction at desktop scale.
Trial a photo change and check the ring in use
Ask the supplier to show the chosen opening on a sample and identify the edge or removable piece used to gain access. Have the intended operator load the final paper stock, close the body, remove the card and fit a spare. Record whether a tool is needed and whether the card shifts, corners catch or the closure sits unevenly. Agree whether guests are expected to change their own insert before finalising the retail instructions.
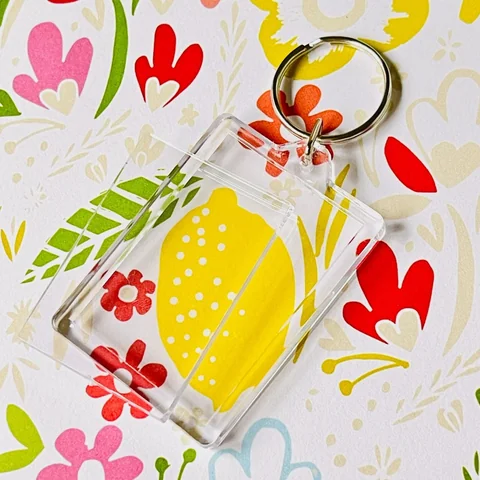
Confirm the ring and connector on the quoted version. Check hang direction, clearance around the connector and the way the body sits in a hand and on its backing card. Ask for measured dimensions if the display hook or pack has a tight size limit.
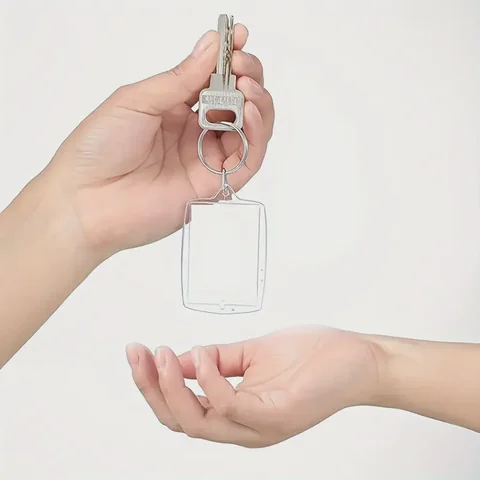
Keep artwork versions aligned with the retail packs
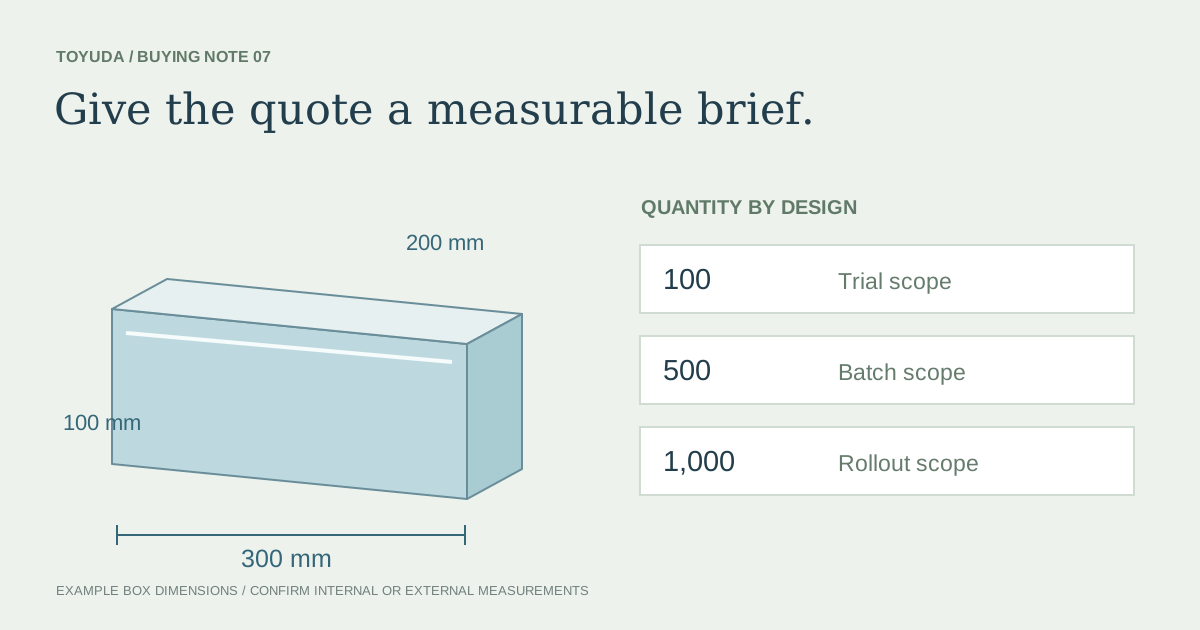
Give each attraction, event or image an ID. For each ID, record the front and back files, approved proof, quantity, who inserts the card and the backing card or barcode that goes with it. If spares will ship loose, list their count and identify how they will be matched to the corresponding body and design.
Open one representative retail pack per artwork version. Check that the printed insert, backing card and visible SKU agree. Agree how the ring will be held away from the clear face in the pack and how the carton label identifies single or mixed designs.
Send the insert and version details in one RFQ
Photo insert keychain RFQ record
Sales setting, body reference and blank or preloaded supply:
Visible window, safe artwork area, finished card cut and thickness:
Loading method, operator and agreed replacement checks:
Artwork IDs, front and back files, counts by design and spare cards:
Ring and connector, retail pack, SKU labels and carton mix:
Sample requirements, destination and target date:
Download this blank project record (.txt). Mark unknown entries “To confirm” and retain the approved revision.
Use the acrylic RFQ checklist for quotation and delivery details. Send your souvenir keychain brief with a sample image and the counts by design. TOYUDA can coordinate the format, fit and packing review with suitable suppliers.