Plan acrylic display risers for cosmetics from the products and counter footprint before choosing the number of levels. Compare usable top area, label visibility and access with every bottle, carton and tester in place.
List the products that actually occupy the counter
Make a display inventory that separates a product position from the number of units behind it. Record each SKU's packed width, depth, height and weight, the number displayed, and whether it is a tester or a saleable unit.
A tall bottle can hide the label of a shorter item behind it. A carton may need more space than the bottle inside it. Include price cards, tester labels, promotional signs and any access equipment in the layout. The counter itself also needs a measured footprint, a marked customer-facing edge and nearby obstructions.
For quotation purposes, keep the visible arrangement and replenishment requirement in separate fields. Three display levels do not define capacity: the usable platform area, product orientation and space for hands determine what can be arranged and reached. Confirm the proposed load and supports rather than applying a standard thickness to every riser.
Compare a tiered riser with grouped display plinths
Use the same product set and counter boundary for both layouts. This makes the differences in access, placement and assembly visible without treating either format as a universal winner.
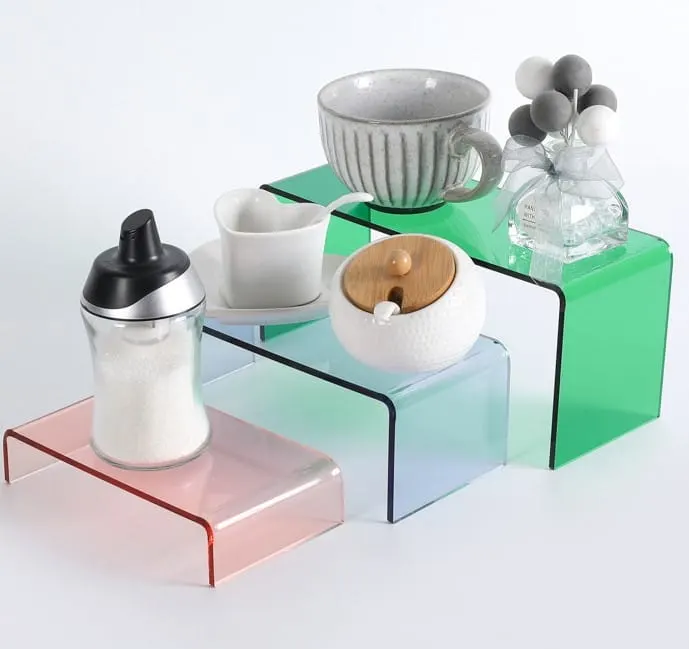
The colored tiered riser reference provides stepped display positions. Review each usable top surface, the height difference and how the complete riser sits on the counter. A taller back level can improve a viewing arrangement while still being awkward to reach.
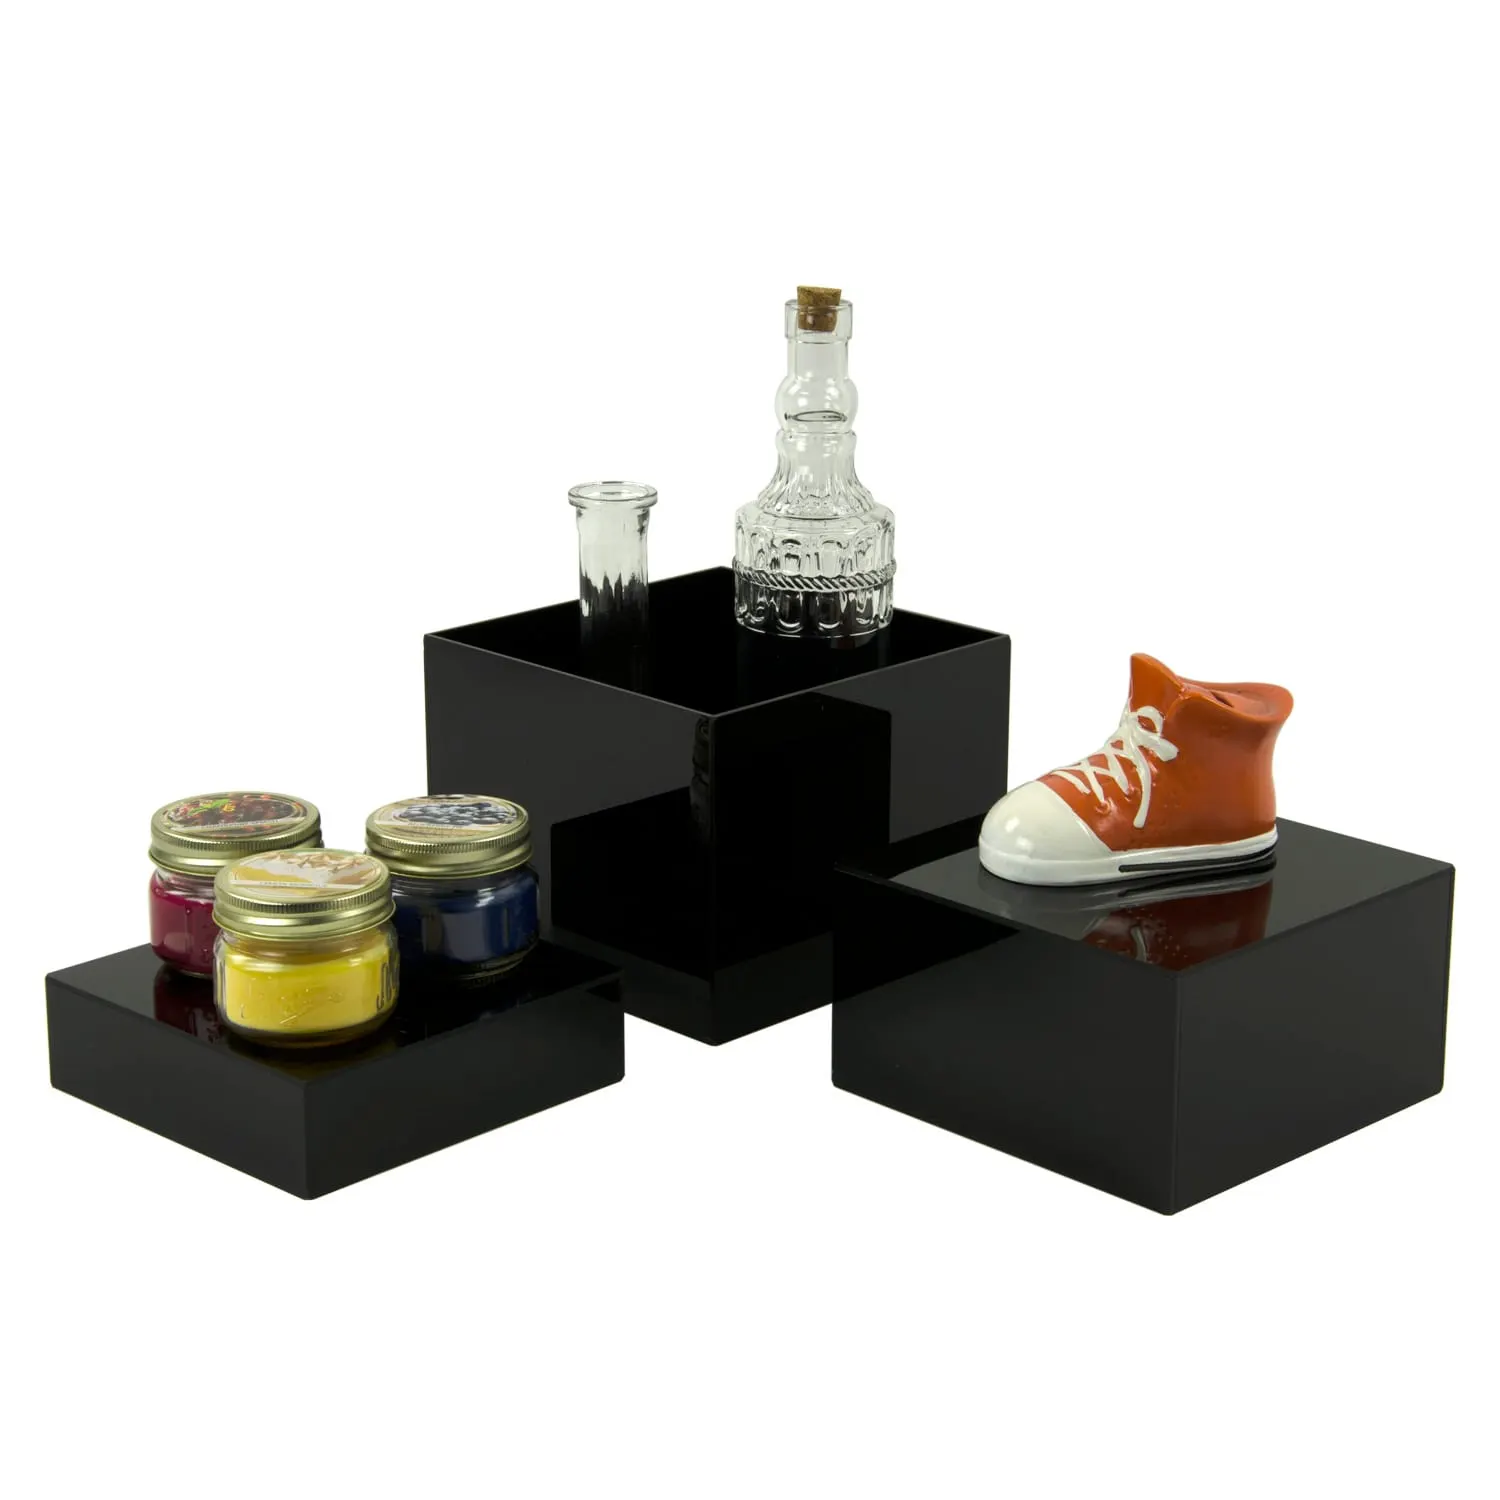
The grouped display plinth reference offers separate positions that can be arranged in the proposed layout. Confirm which faces support products, whether components move independently and how each part is identified for setup. A grouped arrangement is not automatically nestable or designed to stack.
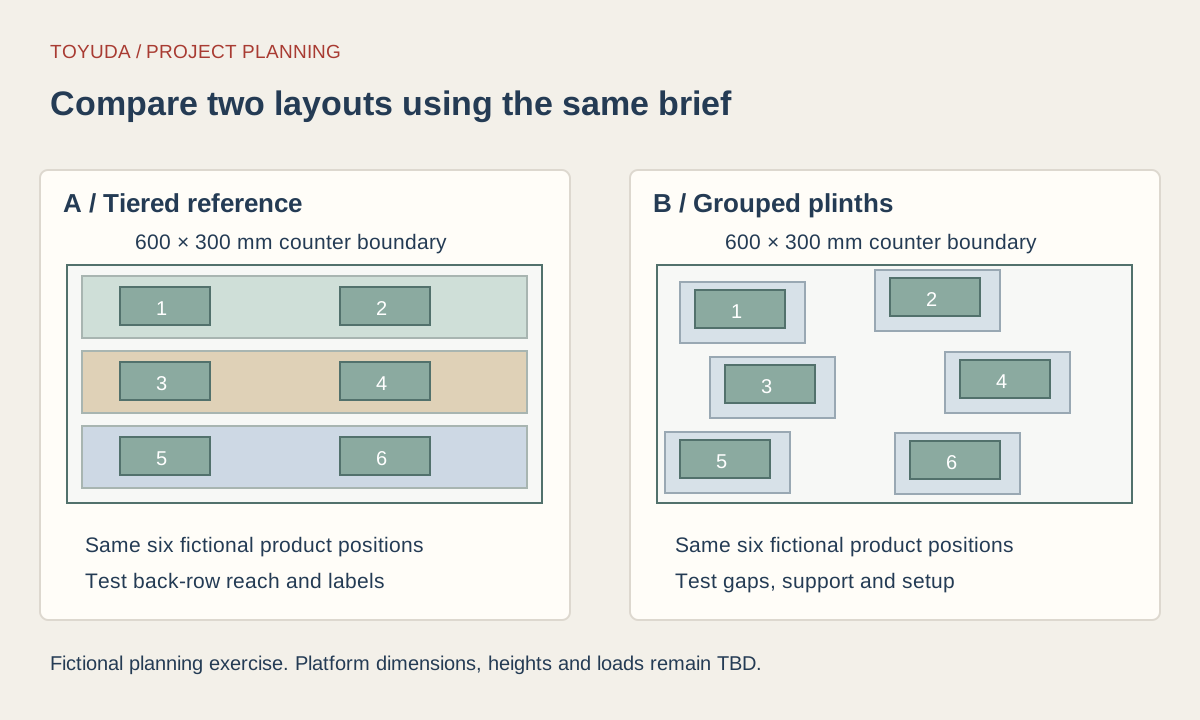
| Check | Tiered reference | Grouped plinth reference |
|---|---|---|
| Six fictional product positions | Assign each position to a usable step | Assign each position to a named plinth |
| Counter boundary | Check the complete base footprint | Check every separate base and the gaps between them |
| Label visibility | View front and back levels with actual products | Check overlap between adjacent and rear positions |
| Reach and replenishment | Remove a rear item without displacing the front row | Reach each position without moving an unintended component |
| Support and setup | Review the joined or formed support arrangement | Review support and stability for each separate part |
Test the view and reach from the intended positions
Place actual products or clearly labelled full-size substitutes on a mock-up. Review it from the customer's approach and the staff replenishment position, with the intended signs in place.
Check each product label at the planned viewing distance. Record obstructions, reflections and the parts of the front row that conceal the back row. If a colored platform changes the appearance of a transparent bottle or white lettering, include that combination in sample review.
Then remove and return products one at a time. Include a rear-row item, a tall bottle and a tester. Check the route for hands and the effect of lifting an item from its contact points. Decide where a temporarily removed product will stand. This is a project-specific access trial, not a claim about sales improvement or an ergonomic certification.
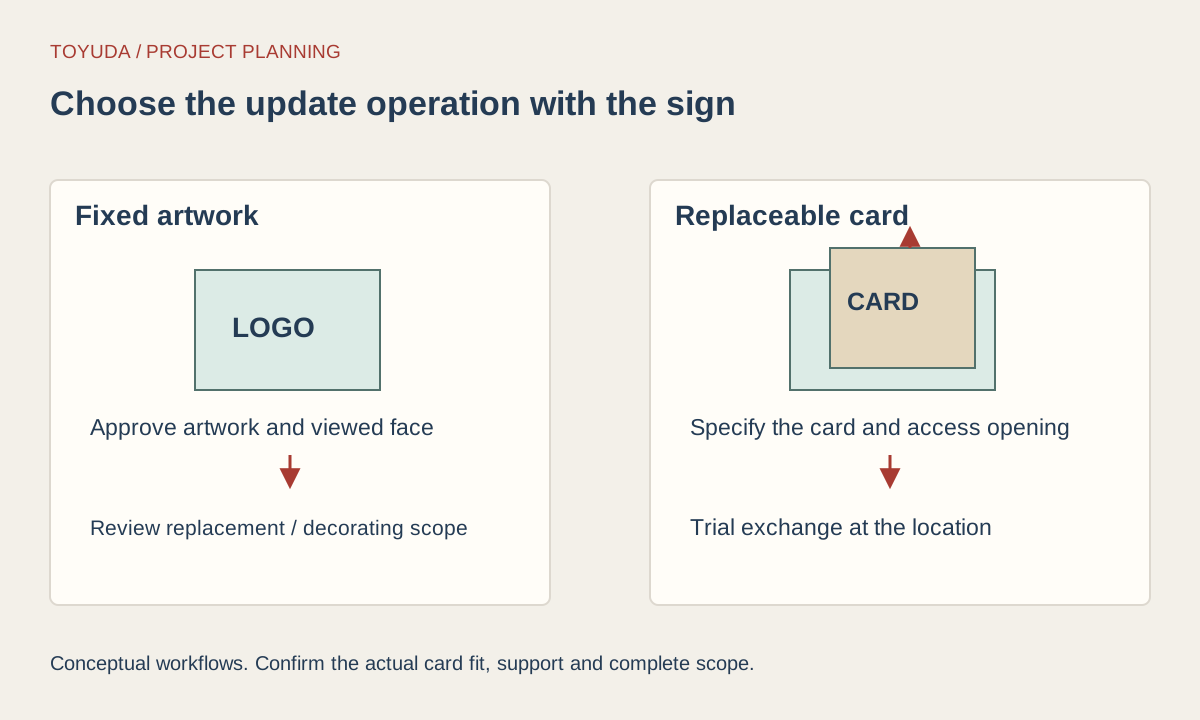
For regularly changing labels, compare fixed signs and replaceable inserts. Show their bases or fixing positions on the same counter plan so the signage does not consume space twice.
Review support and finish using the complete arrangement
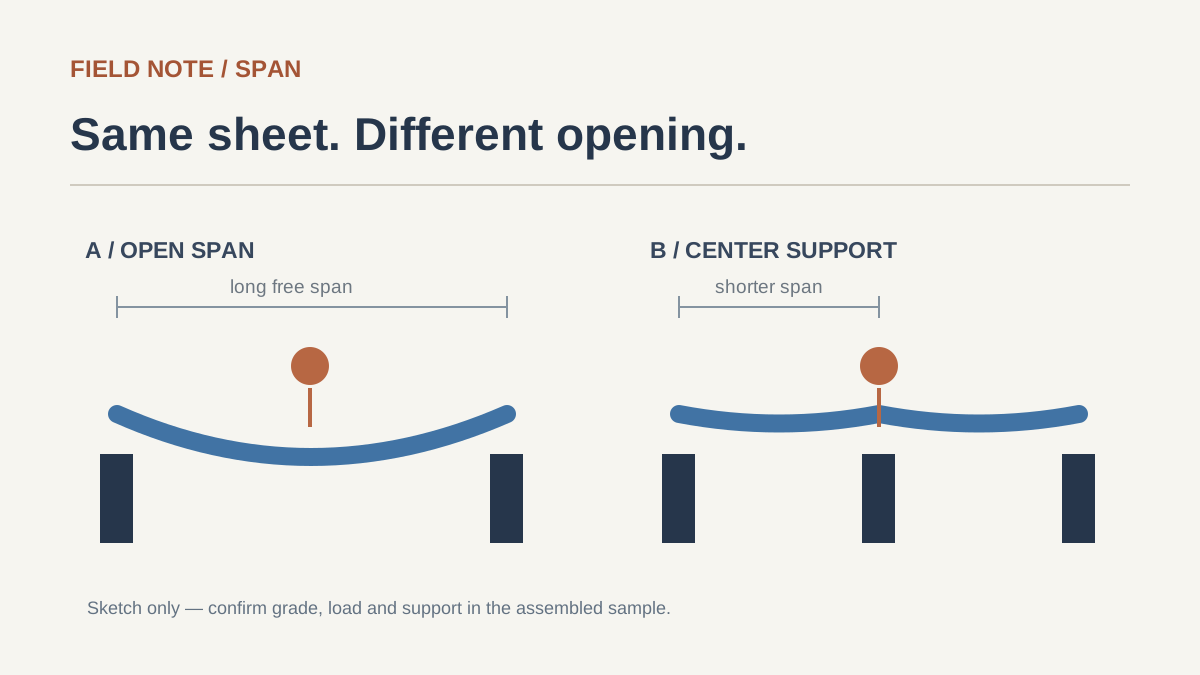
Give the supplier the actual load positions, unsupported spans and intended use conditions. Use those inputs to review construction and acrylic thickness and support.
A small unloaded sample does not settle how a larger platform will perform with the proposed bottles. Agree the representative sample and the observations that determine acceptance. Review edges, joints, standing stability and the visible finish with the display loaded as intended.
The tiered display construction discussion shows why a joined and a bent arrangement need different review. It is a separate project record, not proof that the fictional counter layout here has been manufactured. Keep material and cleaning requirements connected to the actual cosmetics, decoration and routine.
Keep a layout record for quotation, setup and repacking
Save the approved positions and component IDs with the drawing revision. A setup photograph and a packing reference can help another team reproduce the arrangement without guessing.
Cosmetics counter layout brief
Project / revision / date:
Measured counter boundary and front edge:
SKU IDs, packed dimensions and weights:
Quantity and tester / saleable role at each position:
Proposed platform ID and usable top area:
Label viewing and reflection checks:
Removal and replenishment path:
Support arrangement and load positions:
Sign positions and artwork revisions:
Component labels, setup image and return pack:
Sample findings and open decisions:
Download this blank project record (.txt). Mark unknown entries “To confirm” and retain the approved revision.
Compare quotes against the same layout revision, then use the storage and repacking guide to record how the selected parts will be protected between uses.
Two questions about cosmetic display risers
Is the number of tiers enough to define capacity?
No. Specify product footprints, quantities, usable platform area, access and the proposed load arrangement for review.
Can the risers nest for storage?
Confirm this for the selected construction. Independent parts, joined tiers and inverted boxes may need different packing arrangements.
Send the SKU list, counter measurements and a preferred display reference. TOYUDA can coordinate the layout requirements and sample scope with suitable suppliers.
Apply this guide to your project brief
Send the same product positions and counter boundary with the selected reference format.
- Acrylic display stands and risers
Review each usable platform, support and handling path with the intended products.
Related project records
Prepare your quantity, artwork and delivery details before requesting a quotation.
Compare current product references
Use these formats to apply the guide to a specification. Confirm materials and sample requirements for your project.
- Colored Acrylic Display Risers
Compare tier heights, supported footprints and construction with the displayed items.
- Acrylic Display Cubes & Plinths
Compare each grouped platform footprint and support with the complete counter layout.